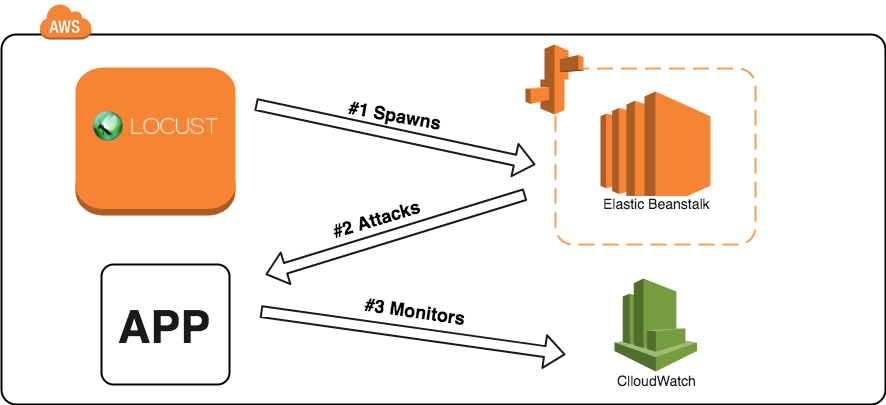
Running Stress Test on AWS Elastic Beanstalk
In the field of App development, Cloud Services are blooming. Nowadays, the vast majority of developments are carried out in production environments. They run on independent and scalable services that maximize the network resource use and enhance the performance of our App.
AWS Amazon is the leading giant of Cloud Service’s market, they continuously release innovative tools and resources to maximize the use of it.
Here I will briefly explain to you our experience working with Elastic Beanstalk service (EB) mainly pointing to the Stress Test process. This is an indispensable task to ensure the correct functionality of the production environment, also its scaling availability according to the traffic and/or the behavior of users.
What is Elastic Beanstalk
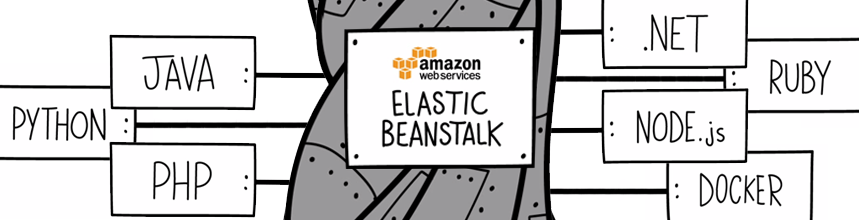
Among the many services offered by AWS we found Elastic Beanstalk (EB), this is a service that allows a quick deploy and management of the applications in AWS Cloud without worrying about the infrastructure that runs those applications. This service reduces management complexity without restricting choice or control. You simply upload some application, and Elastic Beanstalk automatically handles the details of capacity provisioning, load balancing, scaling, and application health monitoring. Elastic Beanstalk uses highly reliable and scalable services.
It is an easy-to-use service for deploying and scaling web applications and services developed with Java, .NET, PHP, Node.js, Python, Ruby, Go, and Docker on familiar servers such as Apache, Nginx, Passenger, and IIS.
In the background, EB works with EC2 instances connecting with other services automatically, like load balancers, databases, autoscaling, etc. This service has an intuitive wizard to initialize your APP and deploy code to EB. There is an Application Version’s page that let you administrate versions of deployments as well as perform rollbacks.
When building a deploy version you’ll need to keep in mind how to:
- update the instances
- install necessary package
- configure your system
- update all necessary resource into the instance.
This is possible through the execution of some scripts under the hidden folder “.ebextensions”. That way, you’ll have complete control over the update and deploys. Later on, the autoscaling will grow without further problems.
- To know more about .ebextensions and deployment scripts, go to ebextension documentation.
- To learn more about the AWS Elastic Beanstalk you can go to EB.
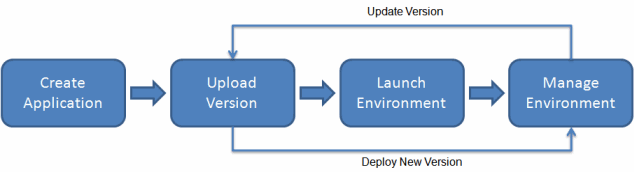
Here there’s a small flowchart about the deployment process:
Structure Of Our Environment
Now let me quickly describe our production environment deployed on EB.
This is an App for a company who wants to administrate their sales, orders, production, and accounting. To ensure the proper functioning of this system we need a robust structure. It will have several internal services running:
- a Rest API service
- special storage
- fast delivery of files, images, and data
The structure includes backend EC2 instances behind a load balancer with autoscaling, connected to a Database, to a Queue service and S3. The frontend is and APP working with Angular, and it is running over a CDN service directly.
This diagram shows the diagram of our environment:

About Locust.io
As a Team we have selected Locust.io system to make Stress Test. We choose it because this tool is straight forward and it packs big power capabilities with low resources consumption.
Locust is an easy-to-use, distributed, user’s loading testing tool. It is intended for load-testing websites (or other systems) and figuring out how many concurrent users a system can handle. Locust is completely event-based, and therefore it’s possible to support thousands of concurrent users on a single machine. In contrast to many other event-based apps, it doesn’t use callbacks. Instead, it uses light-weight processes, through gevent.
In order to start using it, there is an easy command “pip install locustio”. After this, you have to make basic configuration and start building your python script to the test process.
This is a simple example of the script where you visit the site, sign in as a user and browse some pages. The script tries to simulate the behavior of a user in different ways. You can set different weights to every @task so Locust can use it dynamically and execute different orders per user, giving you a certain real work environment.
With this simple example you can build a fair test, simulating a real scenario of the use of your app from hundreds or thousands of users. We have installed it on Debian running on t2.medium EC2 instance. Finally, executing the locust.io on the EC2 server, we can access the frontend page where we can launch the test and check the progress.
This screen is an example of frontend Locust.io program, running the tests:
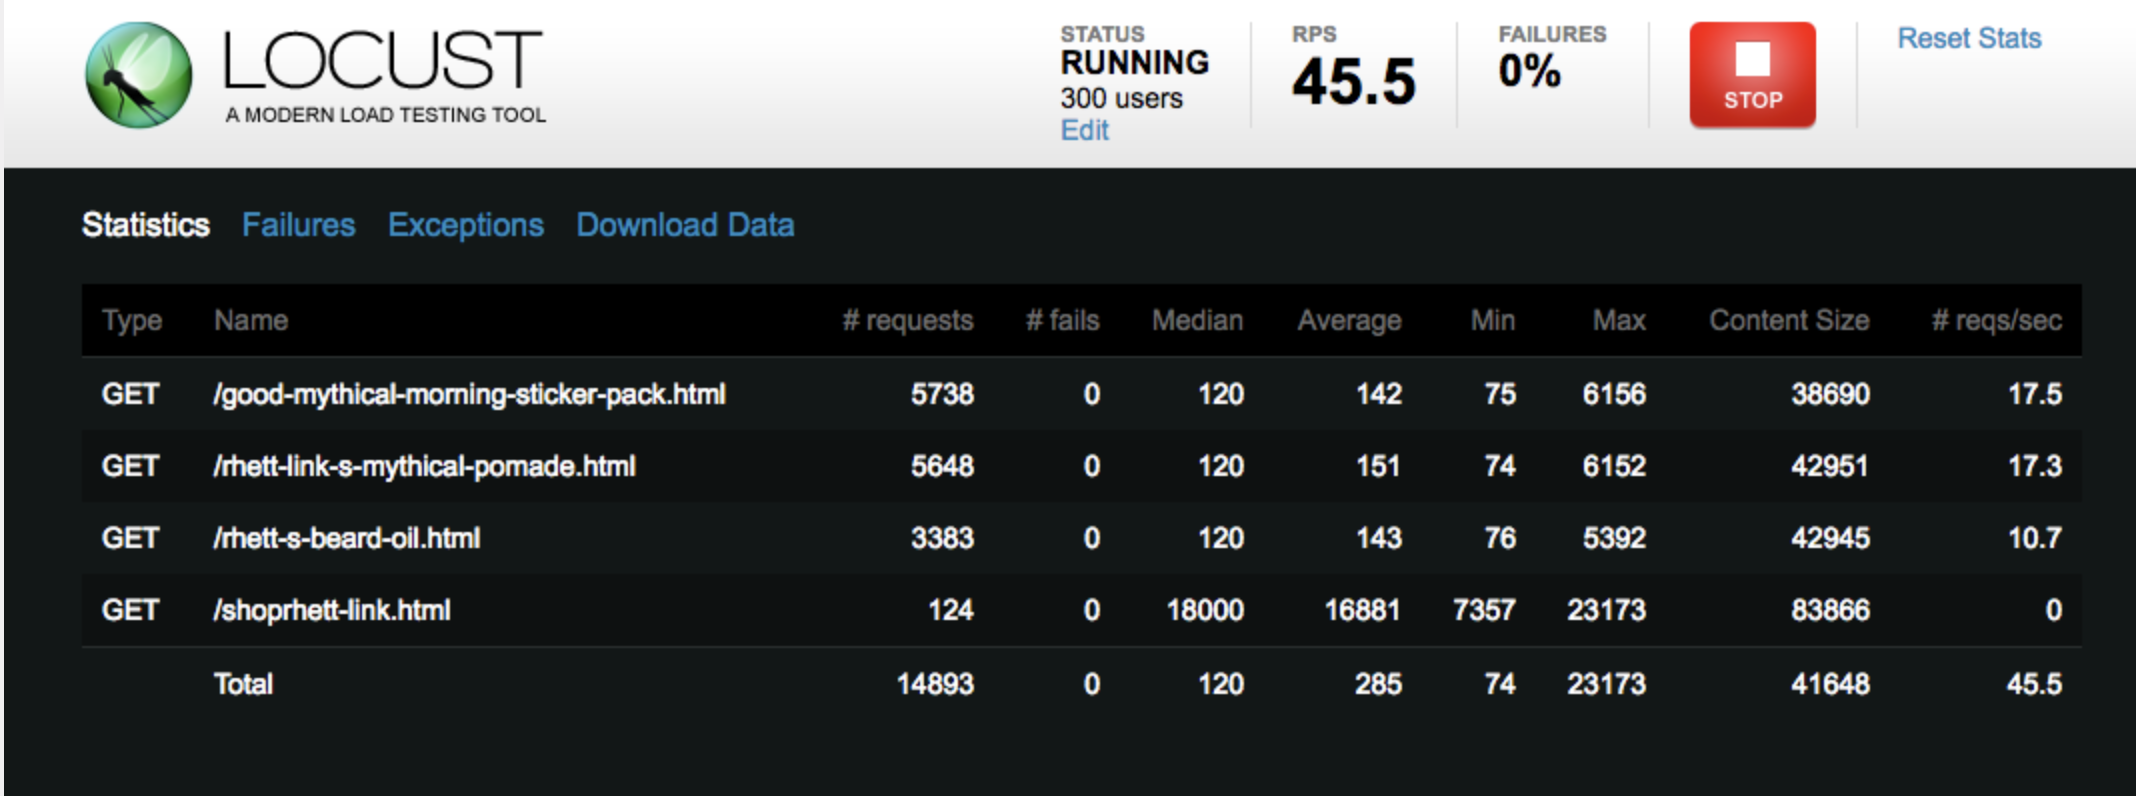
As you can see in the picture Locust show a variety of information. In resume, you’ll have a clear image of the amount of users watching your site, the requests per second (RPS), the percent of failures and overall request executed. The grid shows how many pages or calls were made on every row, the type of call (GET, POST, PATCH, PUT, DEL), the number of requests and how many fails. Also, it shows the times of executions, this gives you an idea about how fast or slow is working the system and every call.
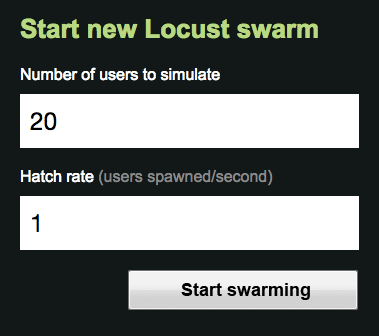
When you start the test, Locust asks for two values. The first one is the overall amount of users you want working on the site, the second one is Hatch rate (the value of users that Locust will launch per second). We advise starting with low values at first and progressively increment them. When the stress is running, you can edit these values and continue with no pauses.
Running Stress Test
I will explain shortly the process off making a Stress Test using Locust and running it over our AWS EB environment. Firstly, we need to make a plan about how we’ll execute all the process. In general, it should have the following steps:
1. Preparation of the EB environment: To make a Stress Test you’ll need your APP been able to respond Locust’s calls, this means that any user can use it. In order to do this, a basic request responding deployed version of your App is needed. It’s better if your APP is closed to production.
2. Setup the Locust Script: You have to think what you want to test, what calls you can execute. Think and make a plan about the possible flow of your calls have in mind that any user can execute and then try to write them into the scripts.
3. Prepare a Sheet with the plan of Stress test execution: You always need to organize the work, and it is good to build a plan of the configuration values that you will use in the Stress test. Here I show you an example of such sheets that we have used.
4. Prepare all Page or reports that you need to check during the execution: Before the start Stress Test, try to get open all pages with the information that let you follow the behavior of your environment running. In our case we have used AWS Cloudwatch service, Locust report, Top resume from Linux, Inspector of Chrome and later processing logs of EB if it is necessary.
Here you can see an example sheet, a test plan, and the information gathered on every report or site.
Finally, I link a video about the execution of one of our test: